
How to Improve DTF Print Quality: Tips for Better Results
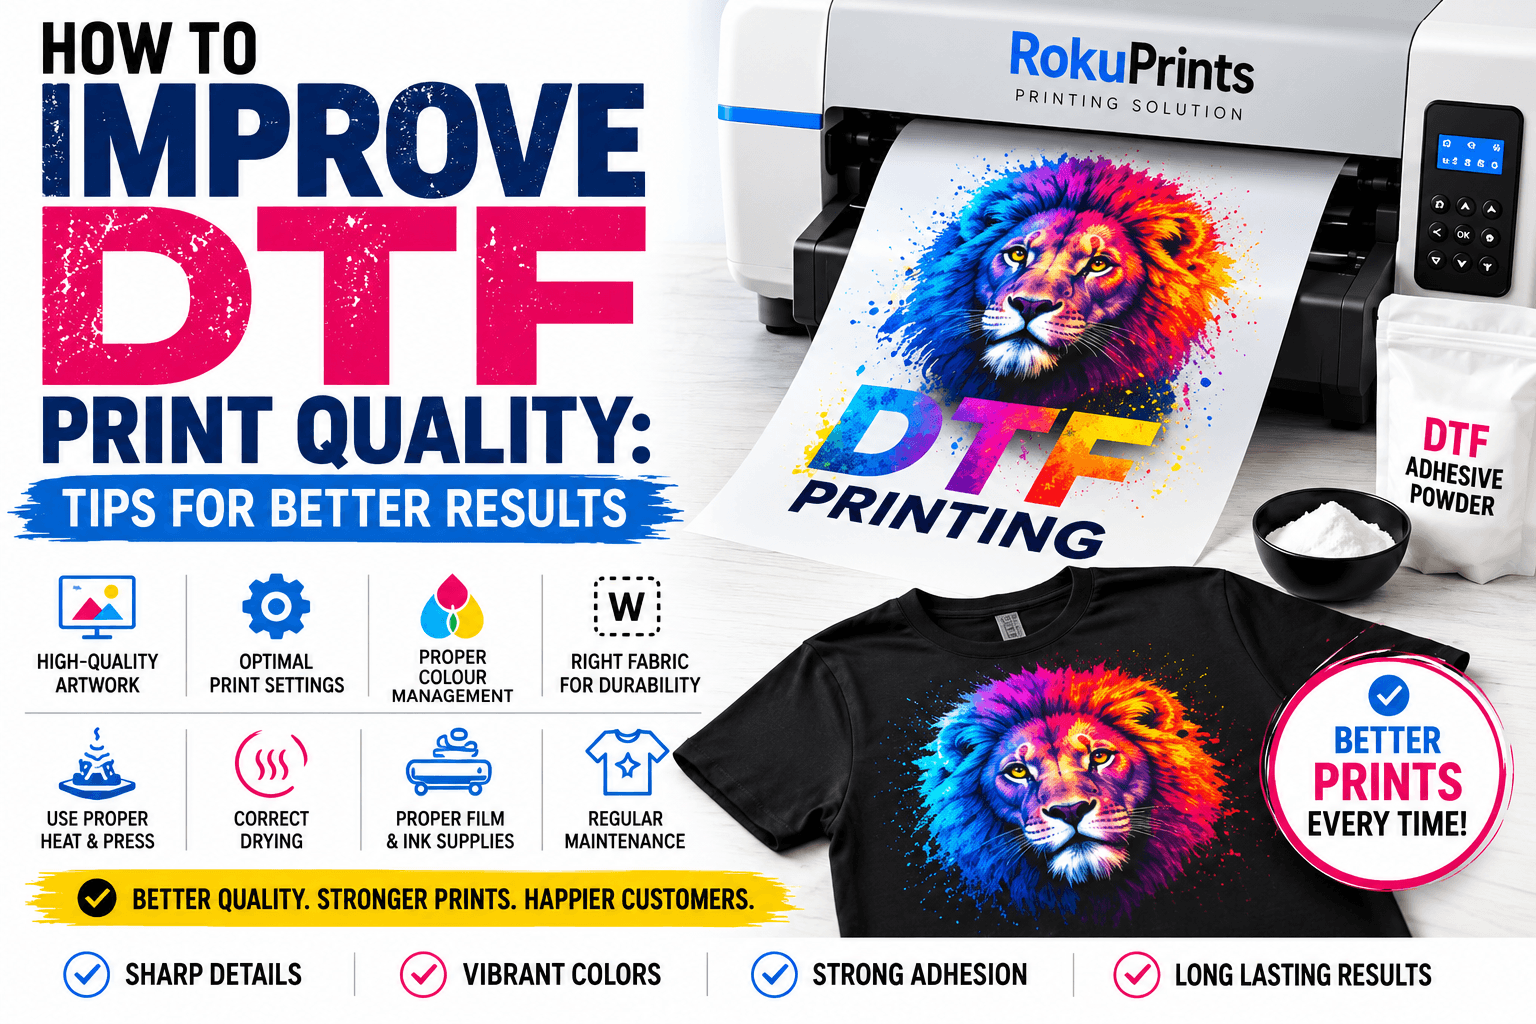
How to Improve DTF Print Quality: Tips for Better Results
Getting consistent, vibrant, and durable results is one of the most important goals in DTF printing. A good DTF printer alone does not guarantee a high-quality print. The final result depends on several factors, including artwork quality, printer settings, ink, transfer film, adhesive powder, curing, heat-press settings, and the fabric being printed. If your DTF prints look dull, blurry, uneven, or fail to adhere properly, there may be an issue somewhere in your printing workflow. In this guide, we’ll explain how to improve DTF print quality with practical tips that can help you achieve sharper designs, better colors, stronger adhesion, and more consistent results.What Affects DTF Print Quality?
Before changing your printer settings, it is important to understand that DTF print quality is influenced by the complete printing process. Some of the most important factors include:- Quality and resolution of the artwork
- Printer and RIP software settings
- Ink quality and compatibility
- White ink coverage
- DTF transfer film
- Adhesive powder application
- Curing conditions
- Heat-press temperature, pressure, and time
- Fabric type and surface
- Proper printer operation and maintenance
Start With High-Quality Artwork
One of the easiest ways to improve DTF print quality is to start with better artwork.Use High-Resolution Images
Low-resolution images can appear blurry or pixelated when printed. If you enlarge a small image too much, the printer cannot recreate details that are not present in the original file. For detailed raster artwork, a resolution around 300 DPI at the intended print size is commonly used. However, the ideal resolution can depend on the artwork, print size, and RIP workflow. For logos, illustrations, and other designs that can be created as vector artwork, using vector files can help preserve sharp edges when the design is resized.Avoid Poor-Quality Source Images
Screenshots, compressed social media images, and heavily pixelated graphics may not produce professional-looking transfers. Whenever possible, use the original design file or a high-quality image.Prepare Colors Correctly
Color appearance can change between your monitor and the printed transfer. Your design software, RIP software, ink profile, printer, and transfer material all influence the final color. Use the color-management workflow recommended for your printer and ink combination rather than simply changing colors randomly in the design file.Optimize Your DTF Printer Settings
Correct DTF print settings can make a significant difference in the appearance of your transfers. Depending on your printer and RIP software, you may be able to adjust settings such as:- Print resolution
- Ink density
- White ink settings
- Pass count
- Printing speed
- Color profiles
- Print direction
- Underbase settings
Choose the Right Print Resolution
Higher resolution can provide more detail, but maximum resolution is not automatically the best choice for every job. It can increase printing time and ink usage without providing a noticeable improvement for certain designs. Choose a resolution that matches the type of artwork and the recommendations for your printer and ink.Adjust Ink Density Carefully
Increasing ink density may sometimes make colors appear stronger, but using excessive ink can create other problems, such as longer drying or curing requirements and changes in the way the transfer behaves. Start with the recommended settings for your specific ink and printer combination and make controlled adjustments when necessary.Check the Nozzles Before Important Jobs
A quick nozzle check can help identify missing or inconsistent ink output before you start a large print run. If the nozzle check shows problems, address them according to your printer manufacturer’s recommended maintenance procedure. For detailed printer cleaning and maintenance, you can also refer to the RokuPrints DTF Printer Maintenance Guide.Use Quality DTF Film and Ink
Your consumables have a direct impact on DTF transfer quality. Even a well-calibrated printer can produce inconsistent results when poor-quality or incompatible materials are used.Choose Compatible DTF Ink
Use ink that is specifically designed for your printer and compatible with your printing system. Different inks can behave differently in terms of color, viscosity, drying, and adhesion. Avoid mixing products without confirming compatibility.Use Reliable DTF Film
DTF transfer film has a direct effect on how the printed design behaves during powder application, curing, and heat pressing. A good-quality film should provide consistent coating and predictable transfer performance. If you notice inconsistent results between sheets of film, the media may be contributing to the problem.Keep Your Consumables Consistent
Changing ink, film, powder, or other consumables frequently can make it harder to identify the cause of quality issues. When possible, test a complete combination of compatible materials and keep your production workflow consistent.Apply Adhesive Powder Evenly
Adhesive powder is an important part of the DTF transfer process. It helps the printed design bond to the garment during heat pressing. Uneven powder application can lead to inconsistent adhesion and visible problems in the finished transfer. For better results:- Apply powder evenly across the printed area.
- Make sure the printed surface receives sufficient adhesive.
- Remove excess powder before curing.
- Avoid allowing large amounts of powder to accumulate outside the design.
- Keep powder contamination away from areas where it is not needed.
Cure the Transfer Correctly
After applying adhesive powder, the transfer needs to be properly cured according to the recommendations for the specific powder and film. The purpose of curing is to activate the adhesive and prepare the transfer for application. Both under-curing and over-curing can create problems. If the adhesive is not properly cured, the transfer may not bond as expected. Excessive heat can also affect the transfer material or design. Because curing requirements vary between products, always follow the manufacturer’s recommended temperature, time, and process. Consistency is particularly important when producing multiple transfers. Using the same process for every batch makes it easier to maintain predictable results.Perfect Your Heat Press Settings
The heat press is the final major stage of the DTF transfer process. Even a high-quality printed transfer can produce poor results if the heat-press settings are incorrect. Three important factors are:- Temperature
- Pressure
- Pressing time
Use the Correct Temperature
Too little heat may prevent the adhesive from bonding properly. Excessive heat may affect the garment or transfer. Use the temperature recommended for your specific film, powder, and garment combination.Apply Appropriate Pressure
The transfer needs sufficient and even pressure to make proper contact with the fabric. Uneven pressure can result in areas that do not adhere properly.Follow the Recommended Pressing Time
Pressing for too little or too long can affect the final result. Always start with the recommended settings from the transfer or material manufacturer.Pay Attention to Peel Instructions
DTF films may have different peeling requirements. Some are designed for hot peeling, while others require warm or cold peeling. Do not assume that every DTF film should be peeled in the same way.Choose the Right Fabric for Better Results
The garment itself can influence the appearance and durability of a DTF print. DTF transfers can be used with a variety of textile materials, but the exact result can vary depending on the fabric construction, surface, color, and finish. Before producing a large order, test the transfer on the actual garment you plan to use. Pay attention to:- Print appearance
- Color vibrancy
- Adhesion
- Stretching
- Washing performance
- Overall feel of the print
Common DTF Print Quality Problems and Solutions
Understanding common defects can make troubleshooting much easier.| Problem | Possible Cause | What to Check |
| Dull colors | Incorrect color settings, ink, or media | Check color profile, ink, and film |
| Blurry print | Low-resolution artwork | Use a higher-quality source file |
| Banding | Nozzle or print-setting issue | Run a nozzle check and review settings |
| Poor adhesion | Powder or heat-press issue | Check powder application and press settings |
| White gaps | White ink output or settings | Check white ink coverage and nozzle condition |
| Excess powder | Poor powder removal | Remove excess powder before curing |
| Cracking after pressing | Fabric, transfer, or pressing issue | Review material and heat-press settings |
| Uneven print | Inconsistent media or process | Check film, powder, curing, and pressure |
10 Quick Tips for Better DTF Prints
If you want to improve DTF printing results, keep these best practices in mind:- Start with high-resolution artwork.
- Use the recommended print settings for your printer.
- Use compatible, quality DTF ink.
- Choose reliable transfer film.
- Maintain consistent white ink performance.
- Apply adhesive powder evenly.
- Remove excess powder before curing.
- Follow the correct curing process.
- Use the recommended heat-press settings.
- Test new materials before starting large production runs.
Frequently Asked Questions About DTF Printer Maintenance
Why are my DTF prints dull?
Dull colors can be caused by several factors, including artwork, color-management settings, ink, film, and printer settings. Check your complete workflow instead of assuming that the printer itself is responsible.
What resolution is best for DTF printing?
Around 300 DPI at the intended print size is a common target for detailed raster artwork, but the best setting depends on the design, print size, printer, and RIP workflow.
Why is my DTF transfer peeling?
Peeling can be related to adhesive powder application, curing, heat-press temperature, pressure, pressing time, fabric, or film. Check each stage against the manufacturer’s recommended settings.
How can I make DTF colors more vibrant?
Start with high-quality artwork, compatible ink and film, and the correct color-management and printer settings. Avoid simply increasing ink density without testing, as excessive ink can create other issues.
Does fabric affect DTF print quality?
Yes. Different fabrics can affect the appearance, adhesion, stretch, and overall feel of a transfer. Testing on the actual garment before production is recommended.
Conclusion
Learning how to improve DTF print quality is about optimizing the entire workflow rather than focusing on just one printer setting.
Start with high-quality artwork, use compatible ink and transfer film, optimize your DTF print settings, apply adhesive powder evenly, cure the transfer correctly, and use the appropriate heat-press settings. Testing your process before large production runs can also help prevent costly mistakes.
If you experience persistent nozzle or ink-related problems, proper printer maintenance should be the first step. For that, check out our DTF Printer Maintenance: A Complete Guide.
By paying attention to every stage of the process, you can achieve sharper designs, stronger colors, better adhesion, and more consistent DTF printing results for your customers.
Latest Deals for This Week
View All- All-in-one A3 DTF printer with built-in shaker & tunnel dryer
- Continuous roll DTF printer with smokeless curing technology
- Auto-feed, print, powder, cure & rewind system – zero manual steps
- Powerful XP600 with consistent white ink recirculation
- Ideal for transfer sellers, merch factories & contract printing units
- A3 size DTF printer with separate A3 curing oven included
- Perfect for semi-automatic DTF printing workflow in India
- XP600 DTF printer for high-resolution CMYK + White prints
- Compatible with hot and cold peel DTF films
- Designed for consistent curing and medium-scale apparel printing
- Top-tier 24 inch DTF printer for export-grade DTF printing in India
- BYHX mainboard with color sync + high-speed RIP compatibility
- Smokeless powder curing system for clean indoor use in metro print shops
- Smart interface with 7″ touch panel, sensor feedback, and ink flow control
- Built for POD factories, custom merch labs & transfer film manufacturing units
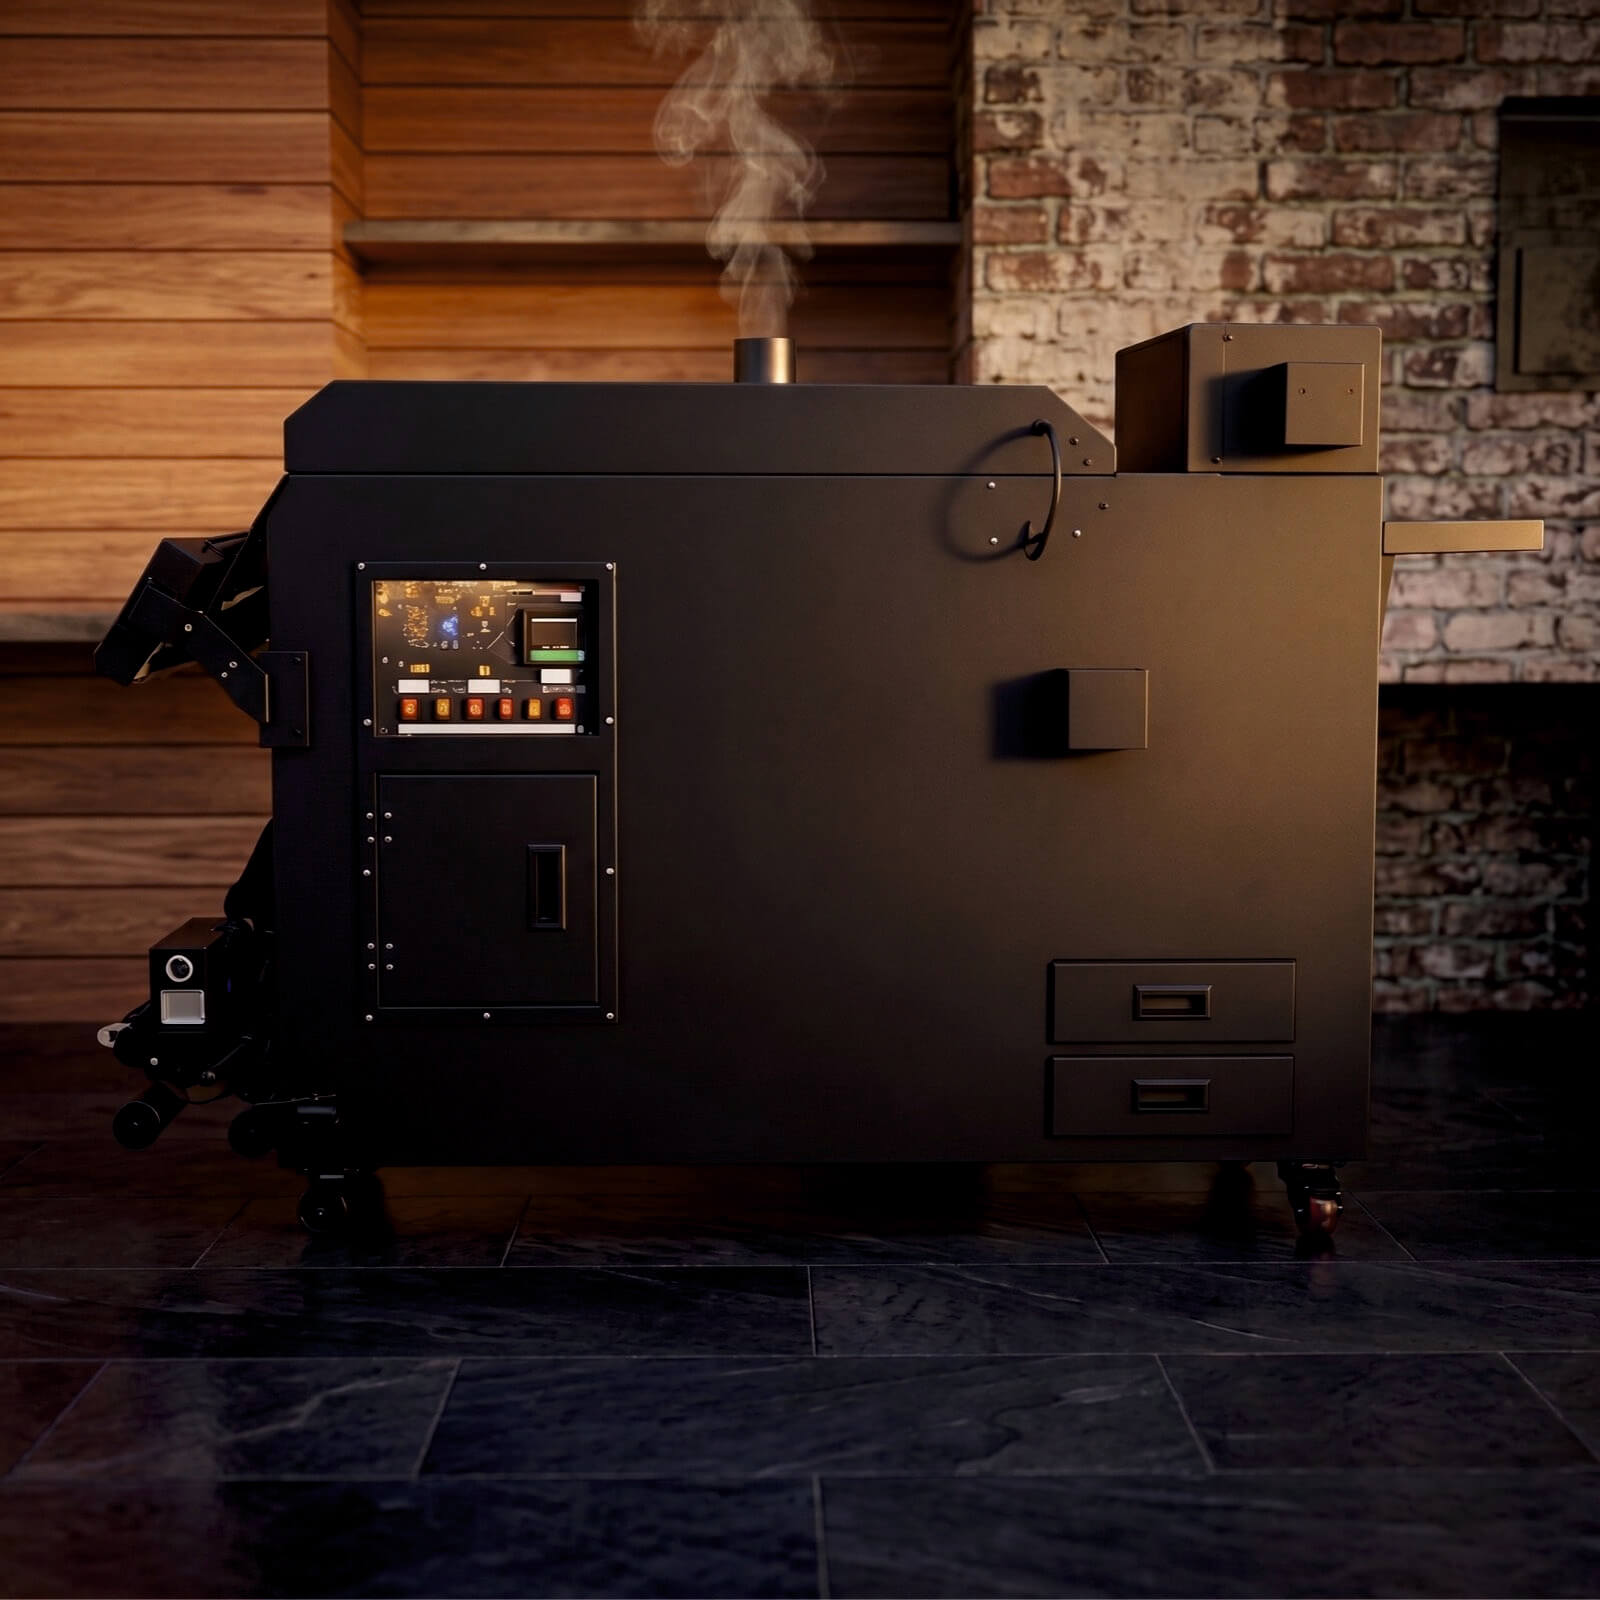
- Industrial 4-head DTF printer with smokeless powder dryer
- Ideal for t-shirt factories, roll transfer exporters, POD production hubs
- High-resolution Epson I3200 heads with wide-format 24-inch film handling
- CMYK + White ink with stable recirculation and CISS for long runs
- Plug-and-play operation with Maintop / Print XP RIP software
- India’s preferred 4-head 24-inch DTF printer for textile factories
- BYHX high-speed controller with full color sync support
- Auto feed, auto take-up & smart touch control panel for easy operation
- Suitable for garment factories, POD exporters & DTF roll vendors
- Designed for non-stop bulk runs with smart workflow alerts


Celebrating over two decades of manufacturing excellence in China, Roku Prints is a global leader in delivering cutting-edge printers, including our state-of-the-art DTF printers…
Quick Links
Products
- DTF PrintersDirect-to-Film (DTF) printing is a super popular method for creating high-quality, full-color transfers that can be applied to shirts and other garments. If you’re looking for a DTF printing machine for shirts, here’s a quick rundown of what to consider, plus some top options to check out in 2025.
- UV Printers
- DTF Accessories
- Printing Solutions
- Sublimation Printers
Contact Information
 Noida Rd, E-07, Basement floor, Noida, Uttar Pradesh 201301
 +91-9560108015, 9560028016, 9212382730
 info@rokuprints.com
Copyright © 2026 Roku prints. All Rights Reserved.
One thought on “How to Improve DTF Print Quality: Tips for Better Results”
Pingback: DTF vs Sublimation Printing: Which Is Better for Business?